Arch-WSL2
创建环境
预先事项
WSL 2 要求系统版本应该在 Windows 10, Version 2004, Build 19041 及以上。
以管理员身份打开 powershell,运行如下命令以启动需要的组件:
dism.exe /online /enable-feature /featurename:Microsoft-Windows-Subsystem-Linux /all /norestart
dism.exe /online /enable-feature /featurename:VirtualMachinePlatform /all /norestart
然后重启。并且在 此处 下载并安装适用于 x64 计算机的最新 WSL2 Linux 内核更新包。
打开 powershell,运行如下命令以将 wsl 的默认版本设置为 WSL 2:
wsl --set-default-version 2
安装 Windows Terminal
在微软的应用商店安装就行了。
安装 Arch WSL
在yuk7/ArchWSL - releases下载Arch.zip,解压,双击 Arch.exe 进行安装。
如果你解压到哪,那么Arch就会安装到哪。
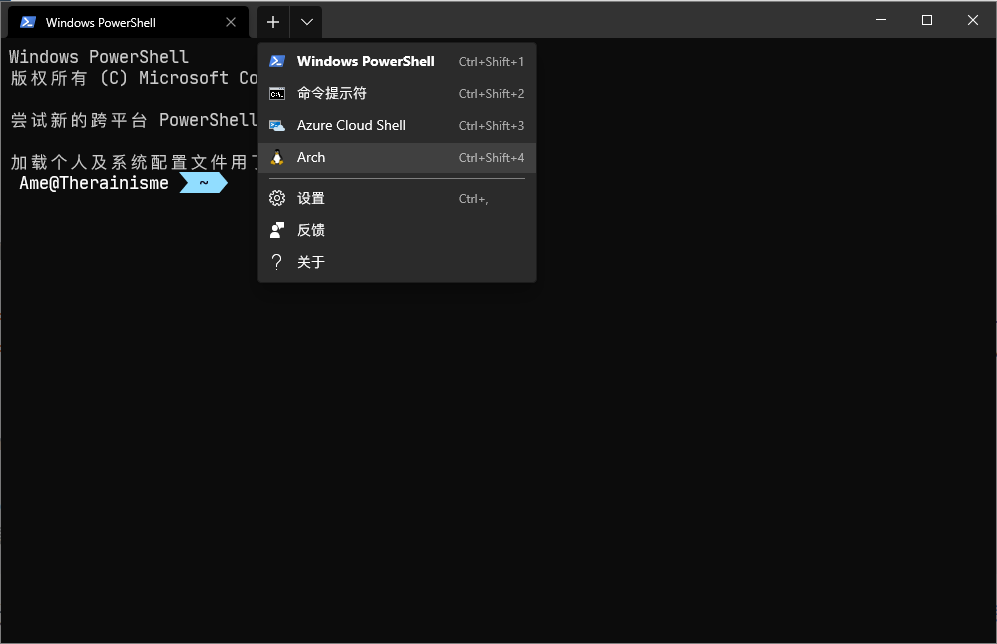
安装完后就可以通过Windows Terminal启动Arch了。
换源更新
以下部分都以 root 用户身份运行命令。
passwd # 设置密码
# 设置软件源
echo 'Server = https://mirrors.neusoft.edu.cn/archlinux/$repo/os/$arch' > /etc/pacman.d/mirrorlist
# 初始化 keyring
pacman-key --init
pacman-key --populate
pacman -Syu # 更新
启用 multilib 库
Arch Linux 有些软件是 32 位的,我们需要开启 multilib 才可以安装。
nano /etc/pacman.conf,取消这几行的注释:
[multilib]
Include = /etc/pacman.d/mirrorlist
并且取消该文件中#Color这一行的注释,以启用彩色输出。
添加 archlinuxcn 源
Arch Linux 中文社区仓库 是由 Arch Linux 中文社区驱动的非官方用户仓库。包含中文用户常用软件、工具、字体/美化包等。
nano /etc/pacman.conf,在文件末尾加上:
[archlinuxcn]
Server = https://mirrors.aliyun.com/archlinuxcn/$arch
然后
pacman -Syy
pacman -S archlinuxcn-keyring
创建用户
注:此处的 yourname 是你要创建的用户名
# 新建用户。-m 为用户创建家目录;-G wheel 将用户添加到 wheel 用户组
useradd -m -G wheel yourname
# 设置密码
passwd yourname
将以下两行行首的#去掉。
# %wheel ALL=(ALL) ALL
# %wheel ALL=(ALL) NOPASSWD: ALL
在 powershell 中进入到 Arch.exe 所在文件夹,设置 WSL 默认登陆用户和默认的 WSL:
.\Arch.exe config --default-user yourname
wsl -s Arch
重新打开,就是在 yourname 用户了。
开始安装必用软件
安装 zsh
给 windows 安装以下字体,并且改变 windows terminal 的字体设置(百度吧,推荐 JetBrians Mono NF相关的)
安装 zsh 并且将其设置为默认 shell
sudo pacman -S --needed zsh
chsh -s /bin/zsh # 改变当前用户的默认shell
touch ~/.zshrc # 创建zsh默认配置文件
# 在yourname用户创建软链接,让root用户也使用yourname用户的.zshrc
# 我觉得这样比较方便
sudo ln -s ~/.zshrc /root/.zshrc
使用 proxychains 代理终端程序
可以使用 windows 的 qv2ray 代理软件来代理 wsl 中的程序!先安装 proxychains:
sudo pacman -S --needed proxychains-ng
首先,sudo nano /etc/proxychains.conf,将proxy_dns这一行注释。(这样能够让 proxychains 代理 yay)
如果用的是 WSL 2,由于目前 WSL 2 和 windows 的 ip 不同,我们需要先cp -f /etc/proxychains.conf ~/.proxychains.conf,然后在~/.zshrc中添加以下内容:
# 获取windows的ip
export WIN_IP=`cat /etc/resolv.conf | grep nameserver | awk '{print $2}'`
# 删除 ~/.proxychains.conf 中 [ProxyList] 所在行到文件末尾的全部内容
sed -i '/\[ProxyList\]/,$d' ~/.proxychains.conf
# 往文件末尾添加socks5设置,这个 7890 是我的 qv②ray 的 socks5 端口号,改成你自己的
echo '[ProxyList]\nsocks5 '${WIN_IP}' 7890' >> ~/.proxychains.conf
# 设置别名;使用 ~/.proxychains.conf 作为proxychains的配置文件;让proxychains quiet(不输出一大串东西)
alias pc='proxychains4 -q -f ~/.proxychains.conf'
# 用来手动开关代理,建议走 http 协议,因为 wget 不支持 socks5
my_proxy=http://${WIN_IP}:7891
alias p-on='export all_proxy='${my_proxy}' http_proxy='${my_proxy}' https_proxy='${my_proxy}''
alias p-off='unset all_proxy http_proxy https_proxy'
然后,在yournane用户中:
sudo ln -s ~/.proxychains.conf /root/.proxychains.conf
source ~/.zshrc
接下来的的命令如果想走代理,只需要加上前缀pc即可。
安装yay
sudo pacman -S --needed base-devel
出现:: fakeroot is in IgnorePkg/IgnoreGroup. Install anyway? [Y/n],选 n,接下来一直回车即可。
sudo pacman -S --needed yay
# yay 换源
yay --aururl "https://aur.tuna.tsinghua.edu.cn" --save
安装 antigen
使用 antigen 管理 zsh 的插件:
sudo pcaman -S antigen
往~/.zshrc中添加如下内容,以启用历史命令、按键绑定、命令补全、语法高亮、agnoster 主题
# 初始化 antigen
source /usr/share/zsh/share/antigen.zsh
# Load the oh-my-zsh's library
# oh-my-zsh 会启用历史命令、按键绑定等功能
antigen use oh-my-zsh
# 启用一些 bundle
antigen bundle zsh-users/zsh-syntax-highlighting
antigen bundle zsh-users/zsh-autosuggestions
antigen bundle zsh-users/zsh-completions
# Load the theme
antigen theme agnoster
# Tell antigen that you're done
antigen apply
然后pc zsh,antigen 就会给你安装插件
关于zsh-autosuggestions插件导致粘贴内容很慢的问题
在.zshrc文件中配置以下内容:
# This speeds up pasting w/ autosuggest
# https://github.com/zsh-users/zsh-autosuggestions/issues/238
pasteinit() {
  OLD_SELF_INSERT=${${(s.:.)widgets[self-insert]}[2,3]}
  zle -N self-insert url-quote-magic # I wonder if you'd need `.url-quote-magic`?
}

pastefinish() {
  zle -N self-insert $OLD_SELF_INSERT
}
zstyle :bracketed-paste-magic paste-init pasteinit
zstyle :bracketed-paste-magic paste-finish pastefinish